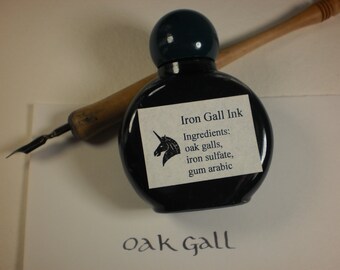
Showing posts with label scribe. Show all posts

Wednesday, May 6, 2020


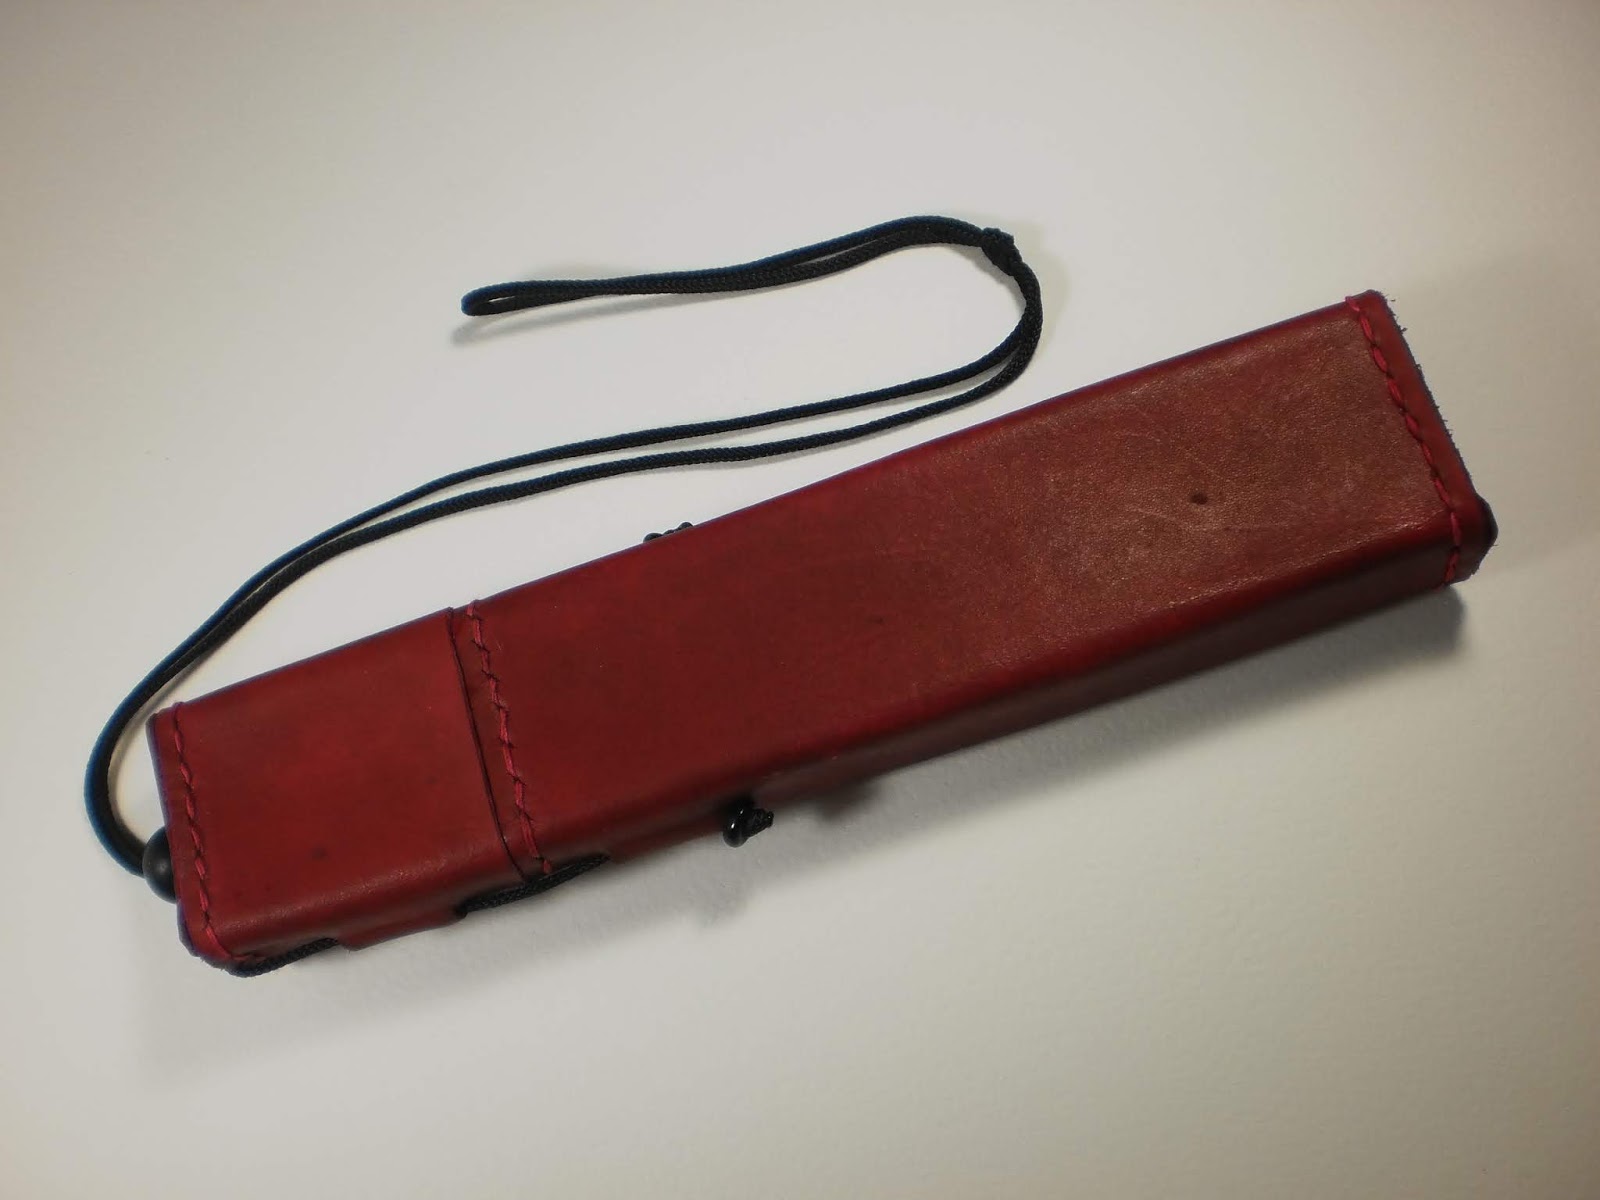
Hand made leather penners

See more at facebook.com/ArtCindyEllenBaker


Or email me
EllenoftheScholars@yahoo.com


Red Penner $69.00 about 8 inches long, 2 inches wide, 1/2 inch deep.

Lots of room for your scribal tools.


Tuesday, July 10, 2018

Making Ink after the ferment

OK. Lots of photos today! I finished making ink after waiting 10 days for my oak galls to soak & ferment.
After 10 days of soaking/fermenting. 
You can see the dark color - more like coffee after 10 days. You can also see the layer of mold & bits  on the side & bottom of the pickle jar.

 This is sitting on the floor right next to my stove.
Drips can make permanent stains! I'm wearing old clothes. I set up this pickle jar with paper towels on the floor next to my stove to hold my spoon while I'm stirring and straining.

All the empty jars waiting to be filled!
I also put all the waiting empty ink jars on a layer of paper towels atop a plank of scrap wood to protect my kitchen counter. There will be spills.

Pouring the liquid through a strainer will take out all the larger chunks of oak gall & remove the surface layer of mold. I did not line the strainer with anything while pouring through the first time.


 I'm taking Ian the Green's advice & straining the mix through linen cloth rather than coffee filters for the second straining.

I have to agree with Ian. Straining through linen is much faster than through a coffee filter. 
You can see all the little particles caught by the linen. the resulting liquid is pretty clear.

The original recipe says to 'pour boiling water over the mixture to kill the ferment.' I'm going to bring the strained oak gall juice to a boil to make sure that I kill whatever mold may be growing in the mixture. I'll turn off the heat once it reaches a boil.

You can see the steam & bubbles.
I let it cool for a bit before adding the iron sulfate, although it was still pretty warm.

Bingo! Lovely black shade after adding iron sulfate.
Now to add the gum Arabic. I've dissolved it in a cup of tap water.


The extra cup of water really won't hurt anything since some of the previous liquid evaporated over the 10 day ferment. A bit of liquid was also lost during the straining process. More water evaporated while I brought the ink to a boil. Adding a cup of liquid with gum Arabic brings the total quantity back to about 4 cups. Stir well!

This is an easy and disposable pouring tool.
I used several paper cups to pour the ink into the bottles. The still warm ink can tend to soak through a bit.


My usual mess. Great black color though!
Keep your trash can nearby too! Everything drips & the less distance to the trash for used cups & paper towels, the better! Wipe down all the bottles after they are filled.


Hmm, maybe some rubber gloves for next time too!


Friday, June 22, 2018

 Ink-Making Equipment
 
Some of the basics.
First - DON'T cross the streams! This is a good safety tip. Keep your ink-making equipment separate from your cooking equipment. They may look the same, but get some cheap gear & keep it just for making ink. You don't want to prepare food with any of this stuff after it's been in ink. That bowl in the upper right? It has a permanent black/brown stain which would absolutely contaminate your food.

That said, cheap is good! If you can't find a sauce pan or large metal bowl at the dollar store, use a large soup can or a #10 can of pudding (emptied & cleaned, mmm pudding). Not all ink recipes call for heating the ink, but a metal container can go on the stove if necessary. Hmm, hot pads would also be good. You will probably need two large-ish containers. One for the un-strained ink and one to strain the filtered ink into. It's a real nuisance to try to strain anything while you're pouring it into tiny ink bottles. You'll also need some kind of spoon to stir things, a strainer to remove the big lumps, coffee filters to remove the little lumps, tiny little bottles to store your finished ink (with water-tight caps), a funnel to get the ink into the tiny little bottles, and probably a hammer (not shown.) The hammer is for smashing up the oak galls. By the way, you can get tiny funnels like this one in the sporting goods section. They're used to fill camp stoves that use white gas instead of propane tanks. Again, don't use the funnel for anything besides ink - not sure what it would do to your camp stove to get ink in your fuel.
****
A good tip from Hroswitha von Lippe, "Remember spills can be permanent." (Good idea to cover surfaces with plenty of newspaper or paper towels just in case!)
Another from Ian the Green, "I recommend linen for filtering. It goes much faster. I also believe it does a better job in my opinion than the coffee filters." (Coffee filters do take a long time. I'll see if I have any linen to use this time around.)
****

I hope you had a chance to follow links from my last blog & read through some of the recipes. I will probably be using one of the simpler recipes this time. One that doesn't involve cooking the ink, additional ingredients, or letting the galls sit long enough to ferment.

***

I've posted another link to a book absolutely bursting with ink information. You'll have to contact them by email or phone (listed on the web site) rather than purchasing online, but it's well worth it at $8.95. "Manuscript Inks" by Jack C. Thompson, available from Caber Press:
http://home.teleport.com/~tcl/mi.htm

Thursday, June 21, 2018

You will also need 
WATER 
to make your ink.

Ink from the last batch I made.
If your ink turns out a funny color, or does something else weird, you might have contaminants in your water. My hometown sends out a water quality report once a year, so I pretty much know there's not much in there that will affect my ink. If you've got well water, or just aren't sure what's in your local water, maybe use distilled or bottled water. I've also seen some ink recipes that call for wine or some other liquid. I haven't tried any of those yet, so I'm sticking with tap water this time.

Here's a little online booklet from Yale University containing medieval ink recipes:
https://travelingscriptorium.files.wordpress.com/2014/06/scopa-recipes-booklet_web-june-2014.pdf

There is a lot of information about making ink and some recipes here:
https://irongallink.org/igi_indexc33a.html

Ian the Green has been making ink for quite some time. Here's a link to his blog:
https://scribescribbling.wordpress.com/

More info about medieval ink at Stefan's Florilegium Archive:
http://www.florilegium.org/

There are tons of ink recipes online, and even more in actual treatises from the middle ages. If you find any good recipes that have worked for you, please share!

Monday, June 18, 2018

I'm down to 2 last bottles of handmade iron gall ink. 
Time to make a new batch of ink! 

If you kids want to follow along, https://irongallink.org/ has TONS of information on ink & recipes.
Ian's blog also has lots of info along with his personal experiences in ink-making:
https://scribescribbling.wordpress.com/

Not sure which recipe I want to try yet, but I'm collecting the materials needed. The first ingredient is
Oak Galls

An oak gall is a growth on an oak tree caused by insect damage. Tannic acid is concentrated in these galls and is the first basic ingredient in this type of ink. 

Aleppo oaks (Quercus infectoria) are supposed to produce the best ink - having a larger amount of tannic acid in the galls than other oaks. Galls from this species of oak are caused by wasps laying eggs in the tree. The resulting galls have been used in ink-making for centuries. 

Image result for Quercus infectoria
Aleppo oak tree - native to Greece & can be found in parts of southern Europe.
If you look closely at oaks in your area, you may also see lumps or round growths caused by similar insect damage. Several years ago, I made a small batch of ink from oak galls collected in Missouri. It was a good solid black ink, so feel free to experiment. (You may want to check with the owner of the oak tree(s) before you harvest galls. Might be a little embarrassing to be charged with trespass or property damage in your quest for ink.) I have no idea how to measure the amount of tannic acid in a given batch of oak galls. You might have to adjust your recipe if you're using galls from another species of oak.

SOURCES FOR OAK GALLS
Kremer Pigment sells aleppo oak galls: http://shop.kremerpigments.com/en/
Ancient Earth Pigments also sells them: https://www.ancientearthpigments.com/product/aleppo-gallnuts/

Yay! Oak galls.

Monday, February 16, 2015

Penner 2: Stitching Your Penner Together


Now that the leather is dry and formed to the shape you want, it's time to move on to the stitching.

The tool on the very bottom is an awl. It's used to pierce the holes for stitching. The second tool is an 'overstitch wheel.' The points on the wheel lightly mark the leather where the stitches will go to keep them even. Dampen the edge of the leather slightly with a sponge & run the wheel along where your line of stitching will be. Then you can pierce holes with the awl. I've already punched holes for all the stitching along the length of the penner and the lid. 

The brown lump at the bottom is beeswax. I've used it quite a bit, so there are many grooves and bits of color where I've drawn threads across it to wax them.
Here's an easy youtube video that shows how to wax your thread before you start stitching:
https://www.youtube.com/watch?v=ReIkIF8AFes

I'm using linen thread. In this case the thread is white. When I dye the finished penner, the thread will also pick up the dye to match (or at least that's the theory.) I'm also using a curved needle which makes it easier to stitch without having to get your hand inside the penner. I'll try to put up some diagrams of the actual stitch pattern, but until I get those drawn up, here are a couple web sites that show the 'baseball' stitch I'm using.

Baseball stitch: https://www.youtube.com/watch?v=kahlJ31s2I8

Actual stitch on a baseball: https://www.youtube.com/watch?v=nLY-wZ2jOTQ

Same stitch with a little different tools and techniques: 
https://www.youtube.com/watch?v=FPk8BDRLJZg


Here's the lid of the penner.
It's sitting on another small flat piece of leather. 
Trace around the bottom of the penner and the top of the lid. Cut out the two rectangles. You'll need to round the corners a little bit, the leather never seems to make a perfectly square corner. 

Here are all the pieces so far. You'll also notice that I 'fixed' the penner by adding the channels for the cords. I had forgotten to do that on this penner before I stitched it closed. 

Bevel the edges of the small rectangles. Also bevel the edges of the top of the lid and the bottom of the penner. Ideally, you'll have a 45 degree angle so the pieces will fit snugly together. I use an X-acto knife for this. Make sure you have a sharp blade. I can make about one penner before I have to change out the knife blade.


Here's a closer view of the lid next to it's beveled and shaped top. It's difficult to see, but the top edge of the lid is also beveled.  

The two beveled edges fit together and the needle/stitching passes right through the angle. If I were perfect, the stitches would not show on the inside at all (not going to happen.)

Here's the lid with it's top.  

I put the lid back onto the wooden form for stitching. 
Makes it a little easier to hold while you're stitching.
You can see I've marked & punched the stitching holes already.

Here's the top of the lid partially stitched. You can stitch this with 2 needles, but I'm doing a running stitch and then 'filling in' between the running stitches on the second time around the seam. I think that's called a 'double-running' stitch in fabric. Not sure what leather workers call it. I started with a knot on the outside (the threads are sticking out next to the needle). When I get all the way around the second time, I'll back stitch 2 or 3 stitches & cut off all the thread ends. The backstitching will hold everything in place.
Here's a closeup of the finished stitching.


You're stitching through the top and sides at the same time. Here you can also see that the leather is darker around the stitches. That's because it's damp. The damp leather is easier to stitch or pierce with the awl. You can also smooth out some of the tool marks with a bone folder while the leather is damp. So if you've accidentally made a couple of dents with your needle or left fingernail marks, dampen the leather & smooth them out before you let it dry. 

Bottom of penner & top of lid all stitched up. 
This strip of leather has been damped and folded around the wooden form. 

It will form the 'lip' that holds the lid in place. Fit it inside the penner and trim it so it fits tightly inside the penner with about a half inch showing.

Use the awl to pierce stitching holes through the penner & the lip insert. Hold them tightly & pierce straight through. (I made the holes in a sort of decorative pattern. I just liked the irregular stitch lengths.)

Once you've stitched the lip in place, let everything dry. You see here how the lid of the penner slips over the lip.

Penner with lid in place. Next comes the finishing, dye, top coat of sealant and the cords to hang it from your belt.


Comments Welcome!
Or sign up for email or notifications. 
(See sidebar on right.)
I'd love to hear what you think.

This is the dye brand I'm using. The cotton dauber is in the middle. I'm using red.

Here's a test scrap of leather. Wipe the leather down with rubbing alcohol and a clean rag to remove greasy finger prints and smudges. This is called 'deglazing' the leather. There are also special deglazing formulas you can buy, but rubbing alcohol works fine.

Next, wipe down the leather with a bit of oil on a paper towel. I read about this online. That leatherworker recommended jojoba oil, but I didn't have any of that handy. You just want a very light coat. I tried dyeing without doing this step and the color was uneven and blotchy. Big difference when oiling the leather first.
 Next I'll get some pictures of the sample piece with dye, adding the cord, and the finished penner.

Friday, February 6, 2015

Making a leather 'penner'


 A 'penner' is a small leather box hung from your belt and used to carry your quill pens. They were a common part of scribal equipment in the middle ages. Thought I'd have a fling at making some. I'm using vegetable-tanned leather as it will be fairly hard and stiff once I've shaped it & let it dry. I'll also finish it with a water resistant coating which will harden it a bit more.

Dampen a strip of leather & wrap it around a wooden form to get the basic shape.

The long strip of leather on the left is 8 inches wide and several feet long. 8 inches will be the total height of the finished penner. The 1" x 2" pieces of wood are poplar. A strip of white cotton fabric wrapped around the damp leather holds the leather tightly around the wooden form.
Drying the leather around a wooden form will leave marks where the corners will be. Using a leather 'groover' pare away a tiny strip of leather on the inside of each corner. (the 'flesh' side of the leather) These grooves will help make the corners square.


The nearly-dry leather has already had shallow grooves cut on the flesh side. (inside of the penner box)
Removing this tiny strip of leather form the inside will give the corners room to bend into a square shape. The tool on the right is the 'groover' 
I then measured 2 inches from the top & cut straight across the width of the leather. The 2 inch piece will be the lid.

Here you can see the penner and lid dampened and wrapped around the wooden form again. I've cut 2 tiny slits on the narrow sides of both the penner and lid. These slits will form the channels for the cords which will eventually hold the penner together & hang it from a belt.
 I used a bamboo skewer to form the channels for the cords, but a small diameter knitting needle or something similar would also work.
A bamboo skewer passed through the slits to stretch the leather making a space large enough for the cords to pass through. The object to the right is a 'bone folder'. The folder is used to press the leather around the skewer and help stretch it into the proper shape.

This closer view shows how I used the bone folder to define the edges around the cord channels. This is part of the beauty of using vegetable tanned leather - it forms very nicely while damp and retains it's shape once it is dry.
Once the leather is totally dry, I can take it off the wooden form. Stitching the pieces together comes next. I'll be using an awl to pierce the stitching holes, linen thread, and a curved needle. The curved needle really helps reach into the tiny corners and tight spots of these shapes.

Comments Welcome!
More next week!